How to Photograph Clothes to Sell (Step-by-Step, No Studio Needed)
A simple step-by-step guide to photographing clothes for resale — from picking the spot in your house to the final edit. Works on any phone.
If you've ever wondered how to photograph clothes to sell without buying lights or a backdrop, this is the shortest guide that actually works. You'll use what's in your house and finish a full photoshoot in under 15 minutes.
Step 1 — Find the right spot
Look for the room with the biggest window and the plainest wall. North-facing windows are best (the light is even all day), but any window without direct sun works. The wall opposite the window is where you'll shoot.
Time it for between 10am and 3pm. Earlier or later and the light goes orange or weak.
Step 2 — Prep the garment
This is the step almost everyone skips. Buyers can spot wrinkles from a thumbnail.
- Steam or iron the item. A £15 handheld steamer pays for itself in a week.
- Lint-roll dark colors.
- Button shirts. Zip jackets halfway. Tie shoelaces.
- Tuck care labels inside so they don't poke out.
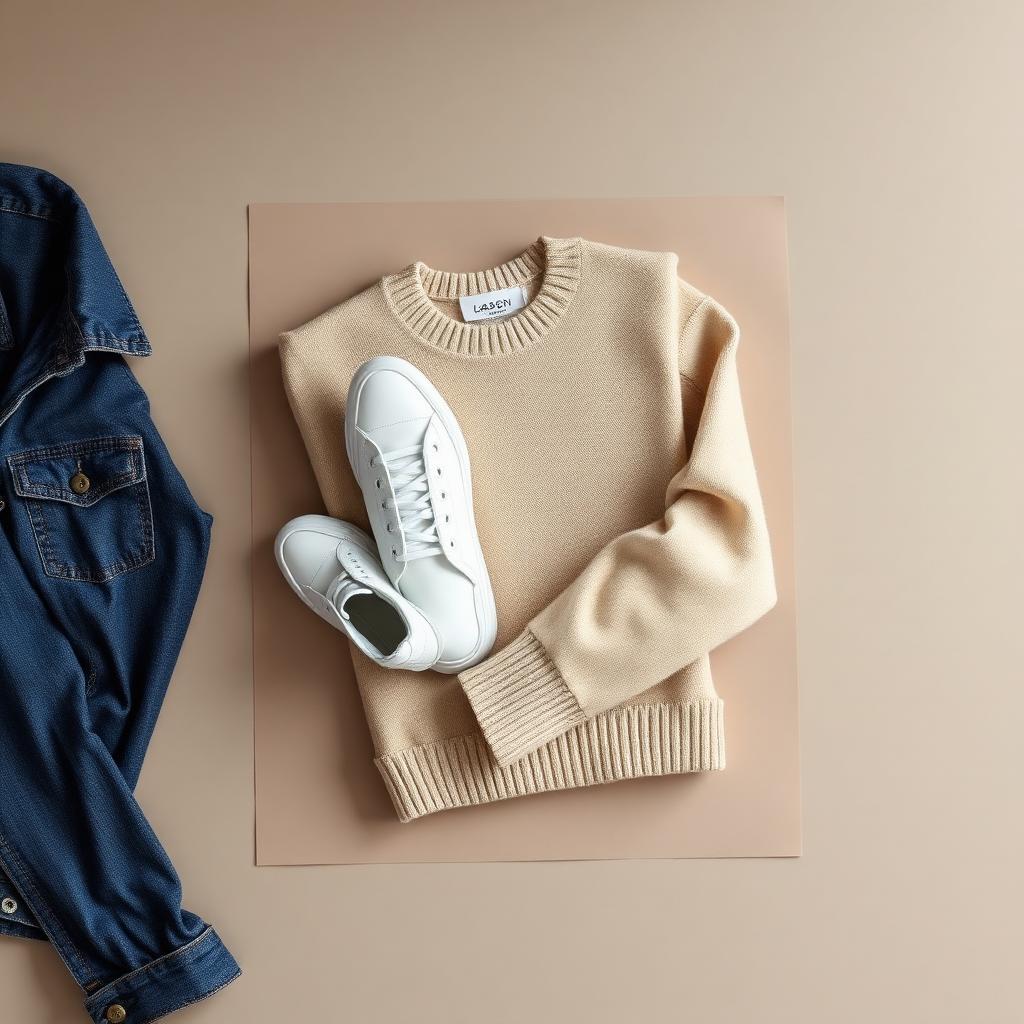
Step 3 — Pick flat-lay or hanging
- Flat-lay (item on the floor or bed) — best for: knitwear, t-shirts, jeans, anything that holds a shape when folded.
- Hanging (on a wall hook or hanger) — best for: dresses, jackets, blazers, long coats.
Don't mix the two in one listing — it looks inconsistent.
Step 4 — Shoot the 5 photos
In this order, every time:
- Hero shot — whole garment, front, centered.
- Back view.
- Inside brand label, close-up.
- One detail — logo, pocket, stitching.
- Any flaws, close-up and honest.
Hold your phone with two hands, elbows tucked into your sides for stability. Square crop. Tap the screen on the garment to lock focus.
Step 5 — Edit (30 seconds, no filters)
Open the photos in your phone's built-in editor. For each one:
- Exposure: nudge brighter until the background looks clean white.
- Contrast: small bump (+10).
- Warmth: pull down slightly if whites look yellow.
That's it. Don't add filters, don't crank saturation, don't use "Auto Enhance" — it'll boost the background more than the garment.
Step 6 — Clean the background (optional shortcut)
If your wall isn't pure white or there's clutter in frame, run the hero shot through an AI background remover. Clothingenhancer is built for clothing specifically — it handles fuzzy edges, transparent fabric, and shoelaces without the weird halos generic tools leave behind. Free credits to try it.
What to never do
- ❌ Use flash. It flattens fabric and shifts color.
- ❌ Shoot at night under bulbs. Yellow cast on every item.
- ❌ Use Instagram filters. Looks unprofessional and triggers buyer suspicion.
- ❌ Photograph on a bed with patterned sheets. The pattern competes with the garment.
- ❌ Mannequin'd photos pulled from Google Images. Buyers reverse-search and report you.
A real example
A reseller posted a Nike Tech Fleece on Vinted with a phone snap taken on her bedroom floor. 12 views in 3 days. She reshot it: same item, white sheet, side light from the window, square crop, 5 photos in the order above. Same listing, new photos: 84 views in 24 hours, sold next day for full asking price.
The item didn't change. The photos did.
Your action list
- Pick a window + plain wall this afternoon.
- Steam the next item you're going to list.
- Shoot 5 photos in the order above.
- Edit for 30 seconds.
- Optional: clean the background in Clothingenhancer.
Do this for every listing. After 20 listings the whole process takes 8 minutes per item and your sell-through rate roughly doubles. That's the entire system.
Ready to list faster on Marketplace?
Free AI tools made for second-hand clothing sellers.